
Visual Web Scraping with GPT Vision: Python Guide 2025
{ "@context": "https://schema.org", "@type": "HowTo", "name": "Visual Web Scraping with GPT Vision: Python Tutorial 2025", "description": "Learn to extract structured web data from screenshots using Playwright and GPT Vision in Python, and how to overcome visual scraping limitations.", "step": [ { "@type": "HowToStep", "name": "Set up your Python scraping environment", "text": "Create a project folder, set up a Python virtual environment, and install the required packages (playwright, openai)." }, { "@type": "HowToStep", "name": "Connect to your target webpage with Playwright", "text": "Use Playwright to automate a Chromium browser, navigate to the product page you want to scrape, and prepare for element selection." }, { "@type": "HowToStep", "name": "Screenshot the relevant HTML element", "text": "Inspect the target page and select the element containing your data (e.g., .product_page). Wait for this element to load, then use Playwright to capture a screenshot of just this section." }, { "@type": "HowToStep", "name": "Configure OpenAI client in Python", "text": "Set up the OpenAI Python SDK, provide your API key, and initialize the client for making GPT Vision requests." }, { "@type": "HowToStep", "name": "Send the screenshot to GPT Vision for extraction", "text": "Convert your screenshot to a Base64-encoded string and send it with a prompt to the GPT Vision API. Instruct GPT Vision to extract structured data (e.g., title, description, price, rating) as JSON." }, { "@type": "HowToStep", "name": "Export results as a JSON file", "text": "Save the JSON string received from GPT Vision to a local file, making your visual scraping output reusable." }, { "@type": "HowToStep", "name": "(Optional) Scraping on protected sites", "text": "If you encounter anti-scraping or CAPTCHA challenges, integrate Bright Data Web Unlocker to fetch screenshots even from protected pages, then process them with GPT Vision as before." }, { "@type": "HowToStep", "name": "Next steps and improvements", "text": "Refactor your script for reuse, add CLI options, and secure your API keys. Explore advanced integration with Unlocker for more resilient scraping." } ], "estimatedCost": { "@type": "MonetaryAmount", "currency": "USD", "value": "Free" }, "supply": [ { "@type": "HowToSupply", "name": "Python 3.8+ environment" }, { "@type": "HowToSupply", "name": "OpenAI API key" }, { "@type": "HowToSupply", "name": "Bright Data account (optional for Unlocker)" } ], "tool": [ { "@type": "HowToTool", "name": "Playwright (Python)" }, { "@type": "HowToTool", "name": "OpenAI Python SDK" }, { "@type": "HowToTool", "name": "Bright Data Web Unlocker (optional)" } ], "totalTime": "PT1H" }
In this guide, you will learn:
Why GPT Vision is a great choice for data extraction tasks that go beyond traditional parsing techniques.
How to perform visual web scraping using GPT Vision in Python.
The main limitation of this approach and how to work around it.
Let’s dive in!
Why Use GPT Vision for Data Scraping?
GPT Vision is a multimodal AI model that understands both text and images. These capabilities are available in the latest OpenAI models. By passing an image to GPT Vision, you can perform visual data extraction, ideal for scenarios where traditional data parsing breaks down.
Regular data parsing involves writing custom rules to retrieve data from documents (e.g., CSS selectors or XPath expressions to get data from HTML pages). Now, the problem is that information can be visually embedded in images, banners, or complex UI elements that cannot be accessed with standard parsing techniques.
GPT Vision helps you extract data from these harder-to-reach sources. The two most common use cases are:
Visual web scraping : Extract web content directly from page screenshots, withouth worrying about page changes or visual elements on the page.
Image-based document extraction : Retrieve structured data from screenshots or scans of local files like resumes, invoices, menus, and receipts.
For a non-visual approach, refer to our guide on web scraping with ChatGPT .
How to Extract Data from Screenshots with GPT Vision in Python
In this step-by-step section, you will learn how to build a GPT Vision web scraping script. In detail, the scraper will automate these tasks:
Use Playwright to connect to the target webpage.
Take a screenshot of the specific section you want to extract data from.
Pass the screenshot to GPT Vision and prompt it to extract structured data.
Export the extracted data to a JSON file.
The target is a specific product page from “Books to Scrape”:
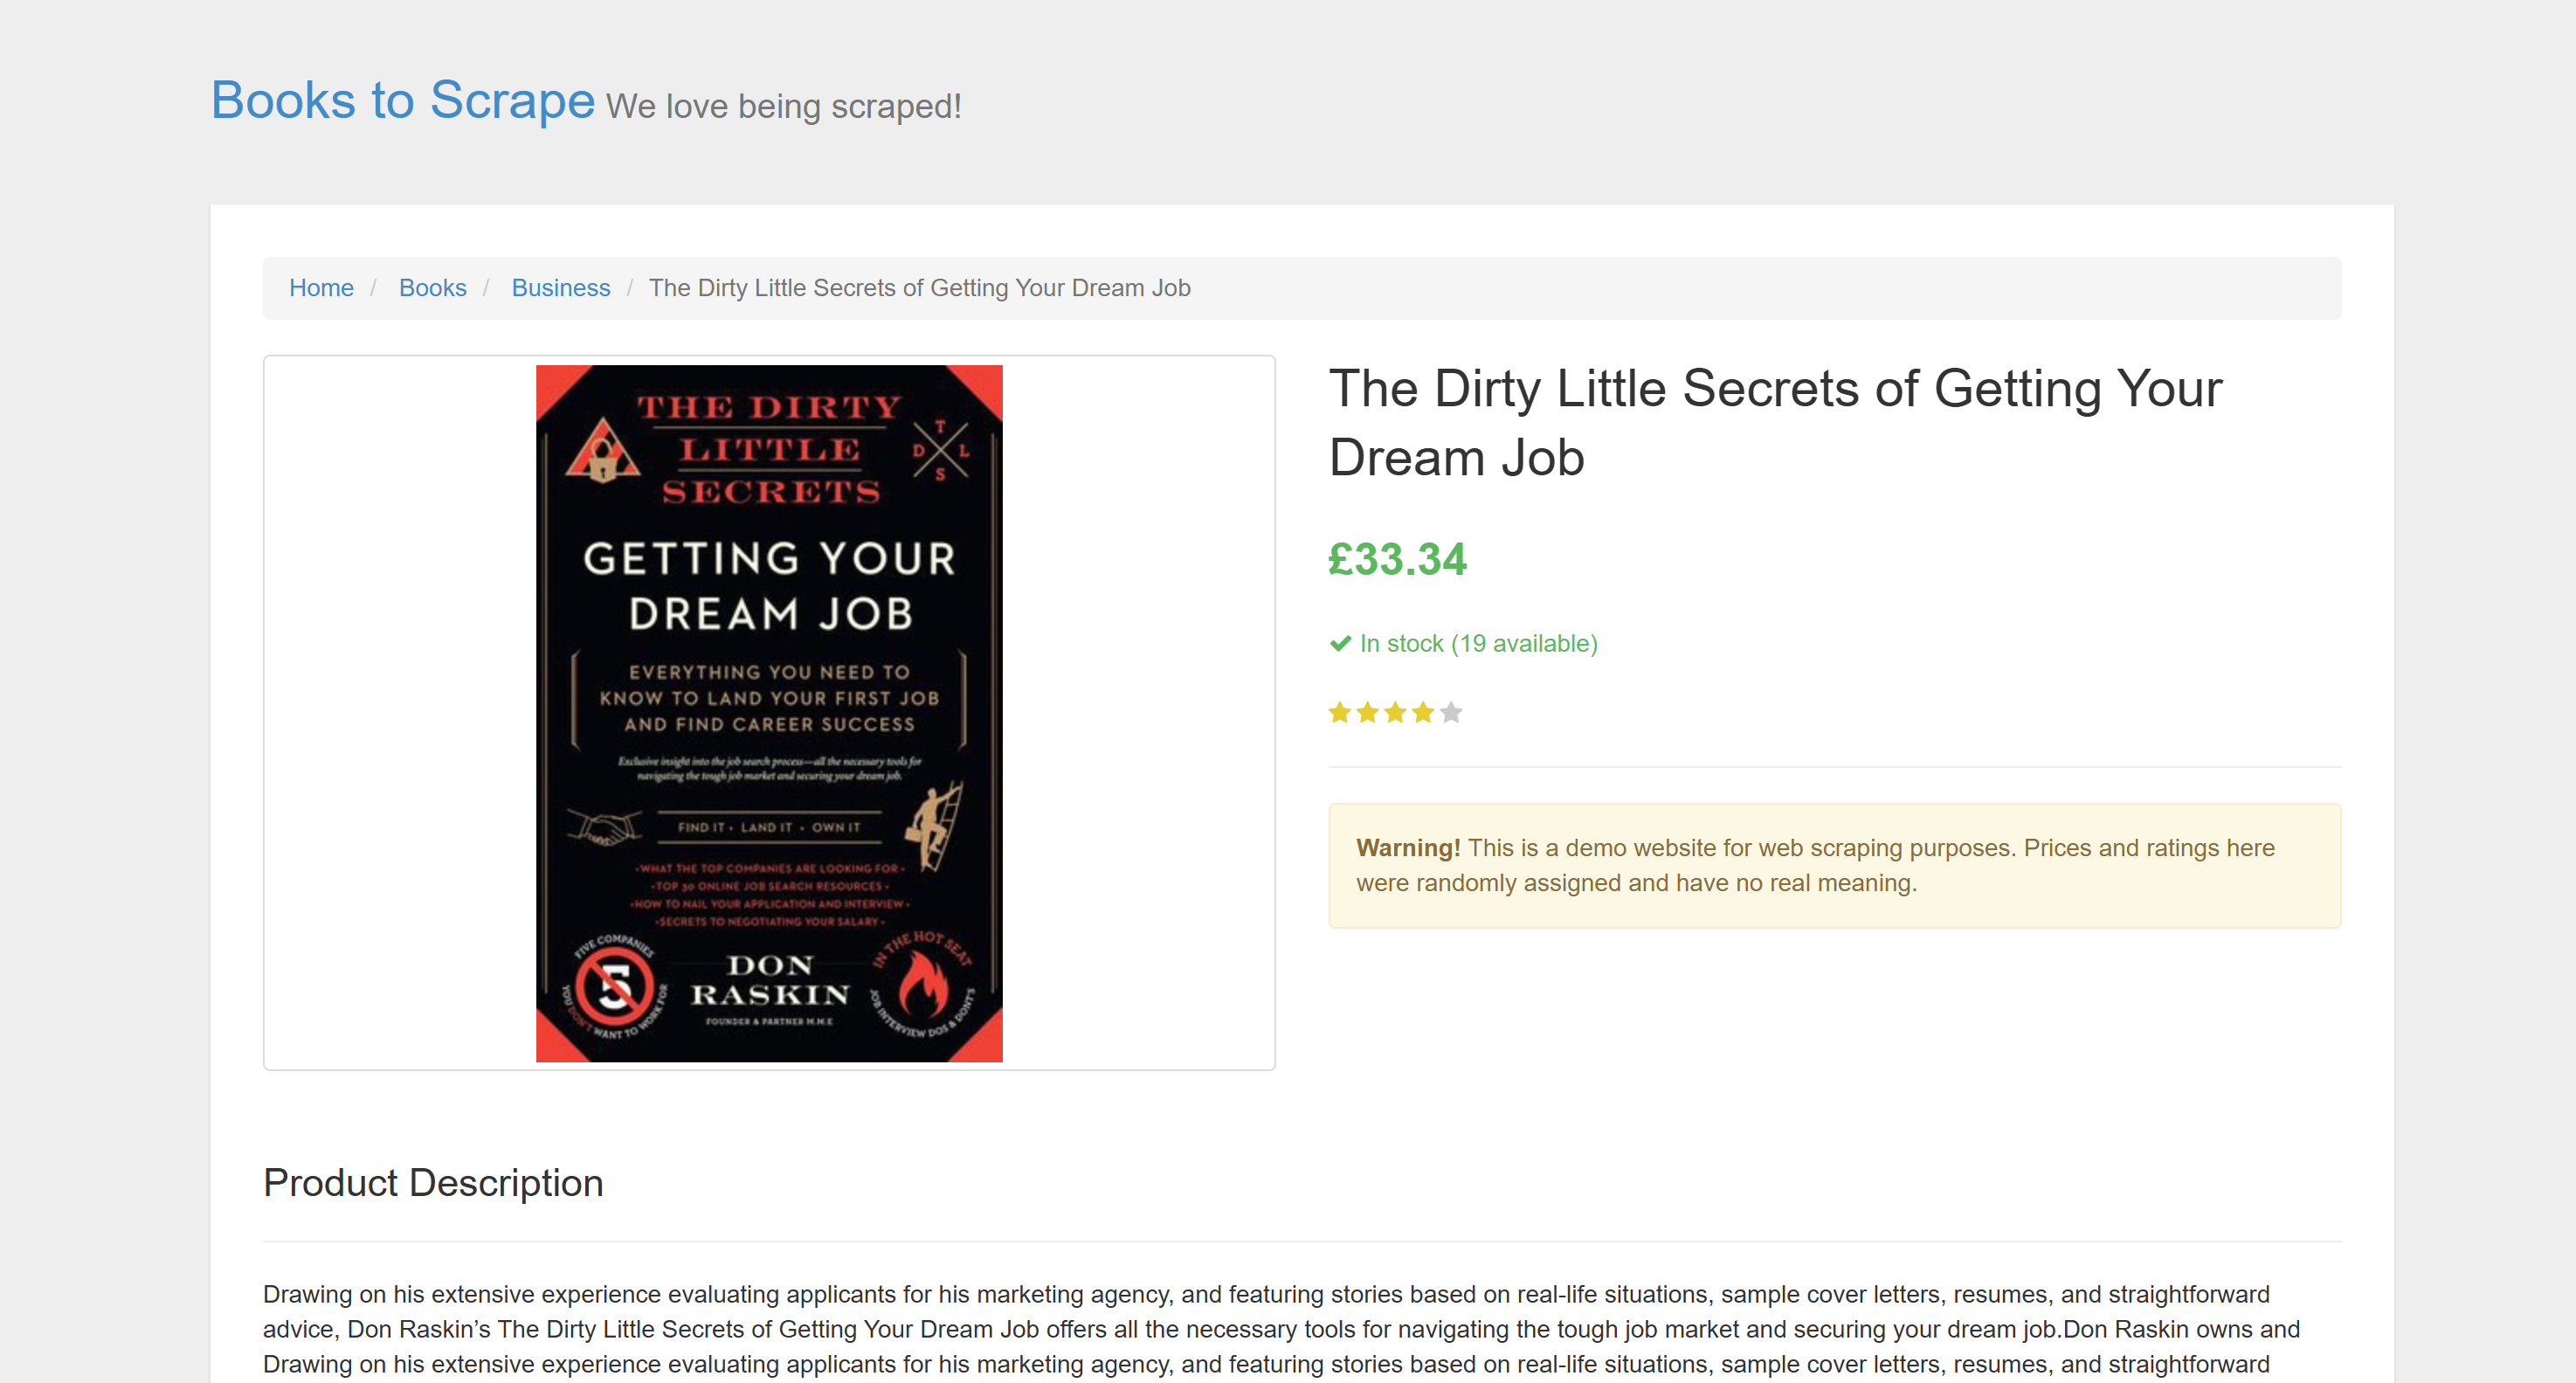
The target site
This page is perfect for testing because it explicitly welcomes automated scraping bots . Plus, it includes visual elements like the star rating widget, which are difficult to deal with using conventional parsing methods.
Note : The sample snippet will be written in Python for simplicity and because the OpenAI Python SDK is widely adopted. However, you can achieve the same results using the JavaScript OpenAI SDK or any other supported language.
Follow the steps below to learn how to scrape web data using GPT Vision!
Prerequisites
Before getting started, make sure you have:
Python 3.8 or higher installed on your machine.
An OpenAI API key to access the GPT Vision API .
To retrieve your OpenAI API key, follow the official guide .
The following background knowledge will also help you get the most out of this article:
A basic understanding of browser automation , particularly using Playwright.
Familiarity with how GPT Vision works.
Note : A browser automation tool like Playwright is required for this approach. The reason is that you need to render the target page inside a browser. Then, once the page is loaded, you can take a screenshot of the specific section you are interested in. That can be done using the Playwright Screenshots API .
Step #1: Create Your Python Project
Run the following command in your terminal to create a new folder for your scraping project:
mkdir gpt-vision-scraper
gpt-vision-scraper/
will serve as the main project folder for building your web scraper using GPT Vision.
Navigate into the folder and create a Python virtual environment inside it:
cd gpt-vision-scraper
python -m venv venv
Open the project folder in your preferred Python IDE. Visual Studio Code with the Python extension or PyCharm Community Edition will do.
Inside the project folder, create a
scraper.py
file:
gpt-vision-scraper
├─── venv/
└─── scraper.py # <------------
At this point,
scraper.py
is just an empty file. Soon, it will contain the logic for visual
LLM web scraping
via GPT Vision.
Next, activate the virtual environment in your terminal. On Linux or macOS, launch:
source venv/bin/activateEquivalently, on Windows, run:
venv/Scripts/activateNice! Your Python environment is now ready for visual scraping with GPT Vision.
Note : In the following steps, you will be shown how to install the required dependencies. If you prefer to install them all at once, run this command:
pip install playwright openaiThen:
python -m playwright installGreat! Your Python environment is now in place.
Step #2: Connect to the Target Site
First, you need to instruct Playwright to visit the target site using a controlled browser. In your activated virtual environment, install Playwright with:
pip install playwright Then, complete the installation by downloading the required browser binaries :
python -m playwright install
Next, import Playwright in your script and use the
goto()
function to navigate to the target page:
from playwright.sync_api import sync_playwright

with sync_playwright() as p:
    # Launch a new Playwright instance
    browser = p.chromium.launch()
    page = browser.new_page()

    # Visit the target page
    url = "https://books.toscrape.com/catalogue/the-dirty-little-secrets-of-getting-your-dream-job_994/index.html"
    page.goto(url)

    # Screenshotting logic...

    # Close the browser and release its resources
    browser.close()
If you are not familiar with this API, read our article on web scraping with Playwright .
Awesome! You now have a Playwright script that successfully connects to the target page. Time to take a screenshot of it.
Step #3: Take a Screenshot of the Page
Before writing the logic to take a screenshot, keep in mind that OpenAI charges based on token usage. In other words, the larger your input screenshot, the more you will spend.
To keep costs down, it is best to limit the screenshot to just the HTML elements containing the data you are interested in. That is possible, as Playwright supports node-based screenshots. Having a narrowed screenshot will also help GPT Vision focus on relevant content, which reduces the risk of hallucinations.
Start by opening the target page in your browser and getting familiar with its structure. Next, right-click on the content and select “Inspect” to open the browser’s DevTools:

Inspecting the main info element on the page
You will notice that most of the relevant content is contained within the
.product_page
HTML element.
Since this element may be dynamically loaded or revealed with JavaScript, you should wait for it before capturing:
product_page_element = page.locator(".product_page")
product_page_element.wait_for()
By default,
wait_for()
will wait up to 30 seconds for the element to appear in the DOM. This micro-step is fundamental, as you do not want to screenshot an empty or invisible section.
Now, utilize the
screenshot()
method on the selected locator to take a screenshot only of that element:
product_page_element.screenshot(path=SCREENSHOT_PATH)
Here,
SCREENSHOT_PATH
is a variable holding the name of the output file, such as:
SCREENSHOT_PATH = "product_page.png"Store that info in a variable is a good idea, as you will need it again soon.
If you launch the script, it will generate a file named
product_page.png
containing:
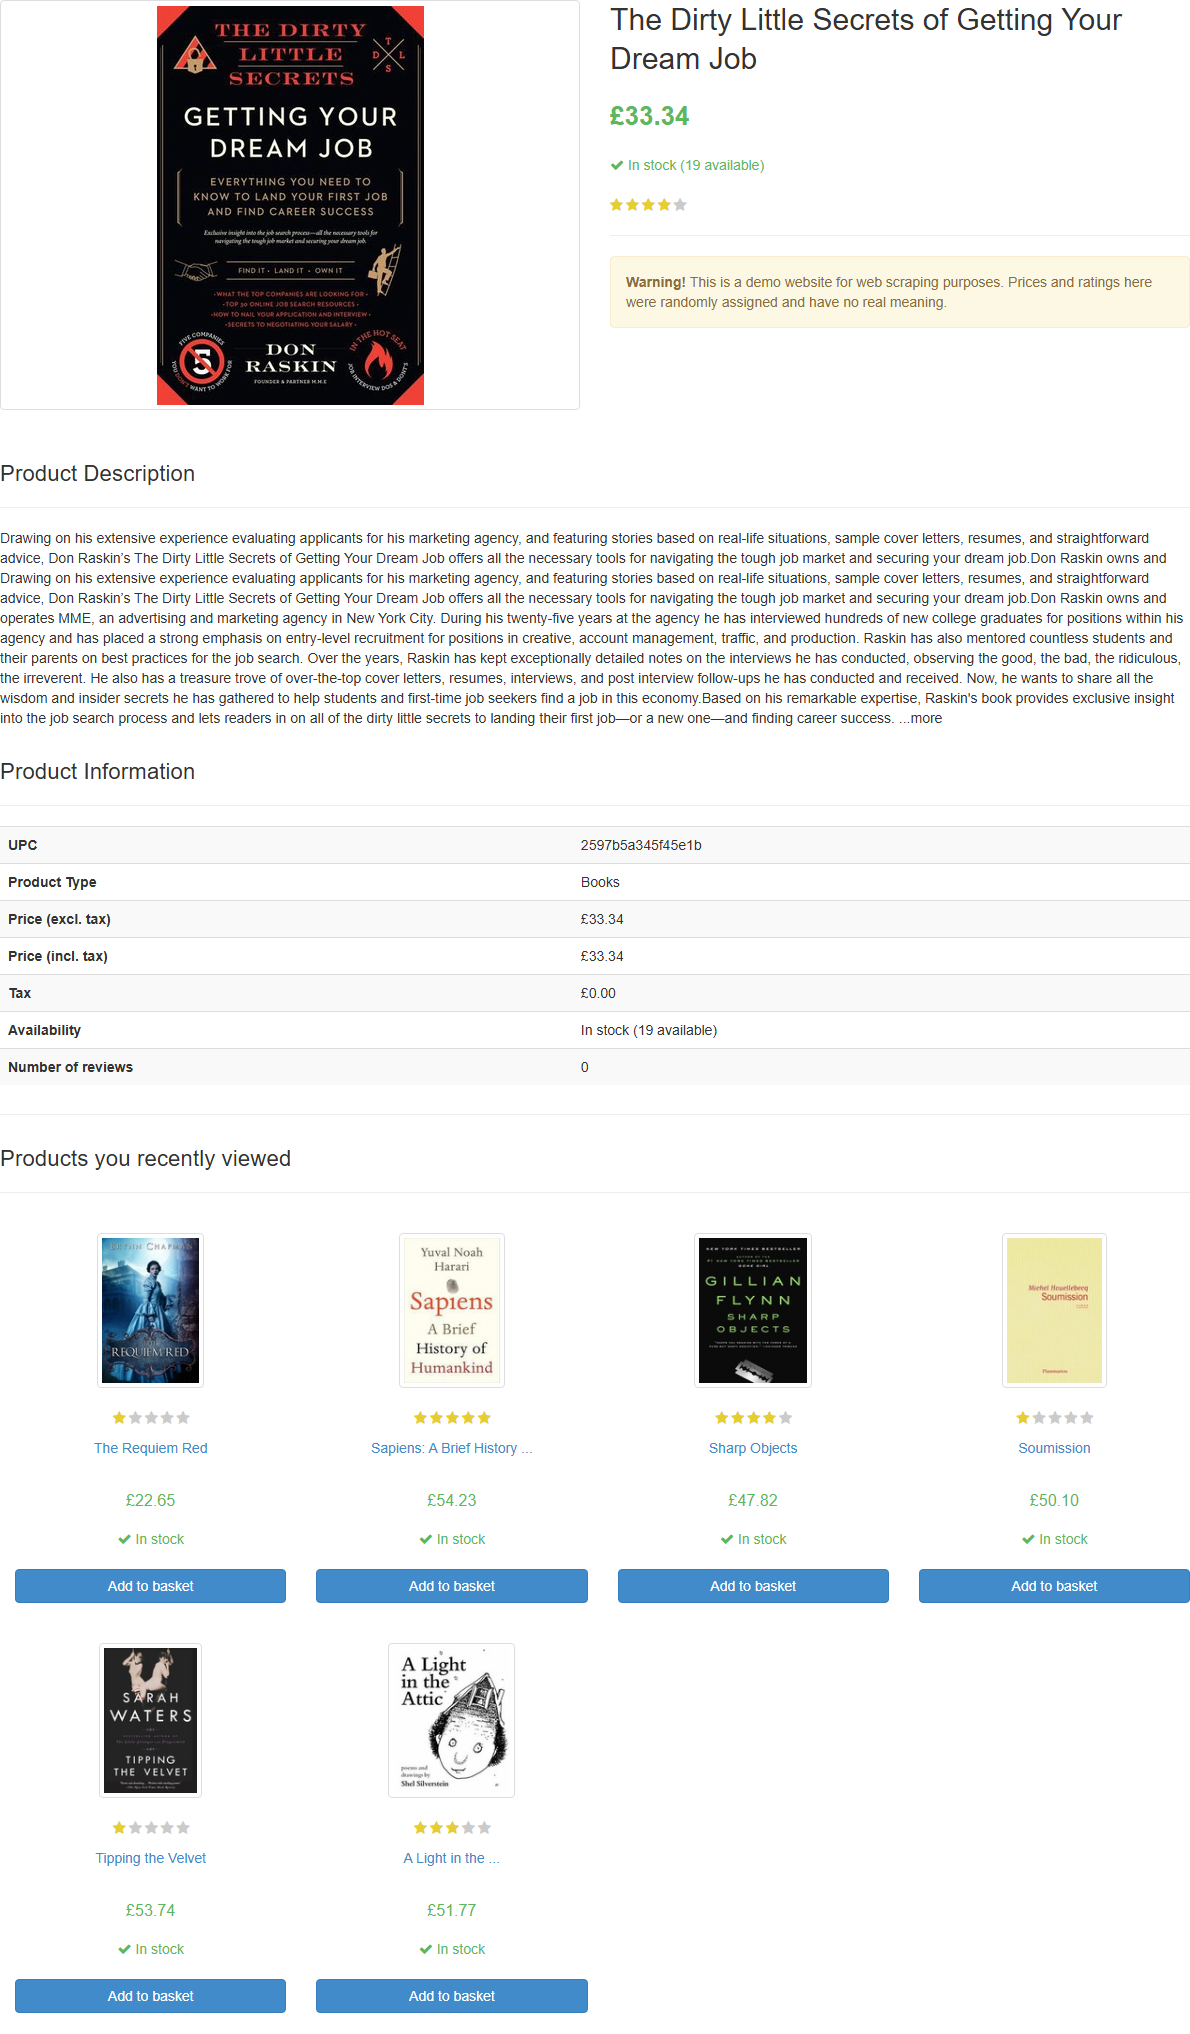
The screenshot in product_page.png
Note : Saving the screenshot to a file is best practice because you may want to re-analyze it later using different techniques or models.
Fantastic! The screenshotting part is over.
Step #4: Configure OpenAI in Python
To employ GPT Vision for web scraping, you can use the
OpenAI Python SDK
. With your activated virtual environment, install the
openai
package:
pip install openai
Next, import the OpenAI client in
scraper.py
:
from openai import OpenAIContinue by initializing an OpenAI client instance:
client = OpenAI()
This allows you to more easily connect to the OpenAI API, including Vision APIs. By default, the
OpenAI()
constructor looks for your API key in the
OPENAI_API_KEY
environment variable. Setting that env is the
recommended way to configure authentication securely
.
For development or testing purposes, you can alternatively add the key directly in the code:
OPENAI_API_KEY = "<YOUR_OPENAI_API_KEY>"

client = OpenAI(api_key=OPENAI_API_KEY)
Replace the
<YOUR_OPENAI_API_KEY>
placeholder with your actual OpenAI API key.
Wonderful! Your OpenAI setup is now complete, and you are ready to use GPT Vision for web scraping.
Step #5: Send the GPT Vision Scraping Request
GPT Vision accepts input images in several formats , including public image URLs. Since you are working with a local file, you must send the image to the OpenAI server by converting it to a Base64-encoded string .
To convert your screenshot file to Base64, write the following code:
with open(SCREENSHOT_PATH, "rb") as image_file:
    base64_image = base64.b64encode(image_file.read()).decode("utf-8")
This requries this import from the Python Standard Library :
import base64Now, pass the encoded image to GPT Vision for visual web scraping:
response = client.responses.create(
    model="gpt-4.1-mini",
    input=[
        {
            "role": "user",
            "content": [
                {
                    "type": "input_text",
                    "text": """
                        Extract structured data (e.g., title, description, rating in the format "x/5", etc.) from the following product page.
                        Ignore the "Products you recently viewed" section.
                        Return the data in JSON format using lowercase snake_case attribute names.
                    """
                },
                {
                    "type": "input_image",
                    "image_url": f"data:image/png;base64,{base64_image}"
                }
            ]
        }
    ],
    text={"format": {"type": "json_object"}}  # Enable JSON Mode to get output data in JSON format
)
Note:
The example above sets the
gpt-4.1
model, but you can use
any OpenAI model that supports visual capabilities
.
Notice how GPT Vision is directly integrated into the
Responses API
. That means you do not need to configure anything special. Simply include your Base64 image using
"type": "input_image"
, and you are ready to go.
The scraping prompt used above is:
Extract structured data (e.g., title, description, rating in the format "x/5", etc.) from the following product page.
Ignore the "Products you recently viewed" section.
Return the data in JSON format using lowercase snake_case attribute names.
You may not know the exact structure of the target page, so you should keep the prompt pretty generic (but still focused on the goal). Here, we explicitly instructed the model to ignore sections we are not interested in. Also, we asked to return a JSON object with clean, well-structured key names.
Note that the OpenAI Responses API request is configured to work in JSON Mode . This is how you can ensure the model will produce an output in JSON foramt. For this feature to work, your prompt must incldue an instrcution to return data in JSON like:
Return the data in JSON format using lowercase snake_case attribute names.Otherwise, the request will fail with:
openai.BadRequestError: Error code: 400 - {
  'error': {
    'message': "Response input messages must contain the word 'json' in some form to use 'text.format' of type 'json_object'.",
    'type': 'invalid_request_error',
    'param': 'input',
    'code': None
  }
}
Once the request completes successfully, you can access the parsed structured data using:
json_product_data = response.output_textOptionally, to parse the resulting string to convert it into a Python dictionary:
import json

product_data = json.loads(json_product_data)
GPT Vision data parsing logic complete! It only remains to export the scraped data to a local JSON file.
Step #6: Export the Scraped Data
Write the output JSON string produced by the GPT Vision API call with:
with open("product.json", "w", encoding="utf-8") as f:
    f.write(json_product_data)
This will create a
product.json
file storing the visually extracted data.
Well done! Your GPT Vision-powered web scraper is now ready.
Step #7: Put It All Together
Below is the final code of
scraper.py
:
from playwright.sync_api import sync_playwright
from openai import OpenAI
import base64

# Where to store the page screenshot
SCREENSHOT_PATH = "product_page.png"

with sync_playwright() as p:
    # Launch a new Playwright instance
    browser = p.chromium.launch()
    page = browser.new_page()

    # Visit the target page
    url = "https://books.toscrape.com/catalogue/the-dirty-little-secrets-of-getting-your-dream-job_994/index.html"
    page.goto(url)

    # Wait for the product page element to be on the DOM
    product_page_element = page.locator(".product_page")
    product_page_element.wait_for()

    # Take a full screenshot of the element
    product_page_element.screenshot(path=SCREENSHOT_PATH)

    # Close the browser and release its resources
    browser.close()

# Initialize the OpenAI client
OPENAI_API_KEY = "<YOUR_OPENAI_API_KEY>" # Replace with your OpenAI API key
client = OpenAI(api_key=OPENAI_API_KEY)

# Read the screenshot from the filesystem
with open(SCREENSHOT_PATH, "rb") as image_file:
    base64_image = base64.b64encode(image_file.read()).decode("utf-8")

# Perform the data extraction request via GPT Vision
response = client.responses.create(
    model="gpt-4.1-mini",
    input=[
        {
            "role": "user",
            "content": [
                {
                    "type": "input_text",
                    "text": """
                        Extract structured data (e.g., title, description, rating in the format "x/5", etc.) from the following product page.
                        Ignore the "Products you recently viewed" section.
                        Return the data in JSON format using lowercase snake_case attribute names.
                    """
                },
                {
                    "type": "input_image",
                    "image_url": f"data:image/png;base64,{base64_image}"
                }
            ]
        }
    ],
    text={"format": {"type": "json_object"}}  # Enable JSON Mode to get output data in JSON format
)

# Extract the output data and export it to a JSON file
json_product_data = response.output_text
with open("product.json", "w", encoding="utf-8") as f:
    f.write(json_product_data)
Wow! In less then 65 lines of code, you just performed visual web scraping with GPT Vision.
Execute the GPT Vision scraper with:
python scraper.py
The script will take a while and then write a
product.json
file to your project’s folder. Open it, and you should see:
{
  "title": "The Dirty Little Secrets of Getting Your Dream Job",
  "price_gbp": "£33.34",
  "availability": "In stock (19 available)",
  "rating": "4/5",
  "description": "Drawing on his extensive experience evaluating applicants for his marketing agency, and featuring stories based on real-life situations, sample cover letters, resumes, and straightforward advice, Don Raskin’s The Dirty Little Secrets of Getting Your Dream Job offers all the necessary tools for navigating the tough job market and securing your dream job... [omitted for brevity]",
  "product_information": {
    "upc": "2597b5a345f45e1b",
    "product_type": "Books",
    "price_excl_tax": "£33.34",
    "price_incl_tax": "£33.34",
    "tax": "£0.00",
    "availability": "In stock (19 available)"
  }
}
Note how it successfully extracted all the product information on the page, including the review rating from the purely visual element:
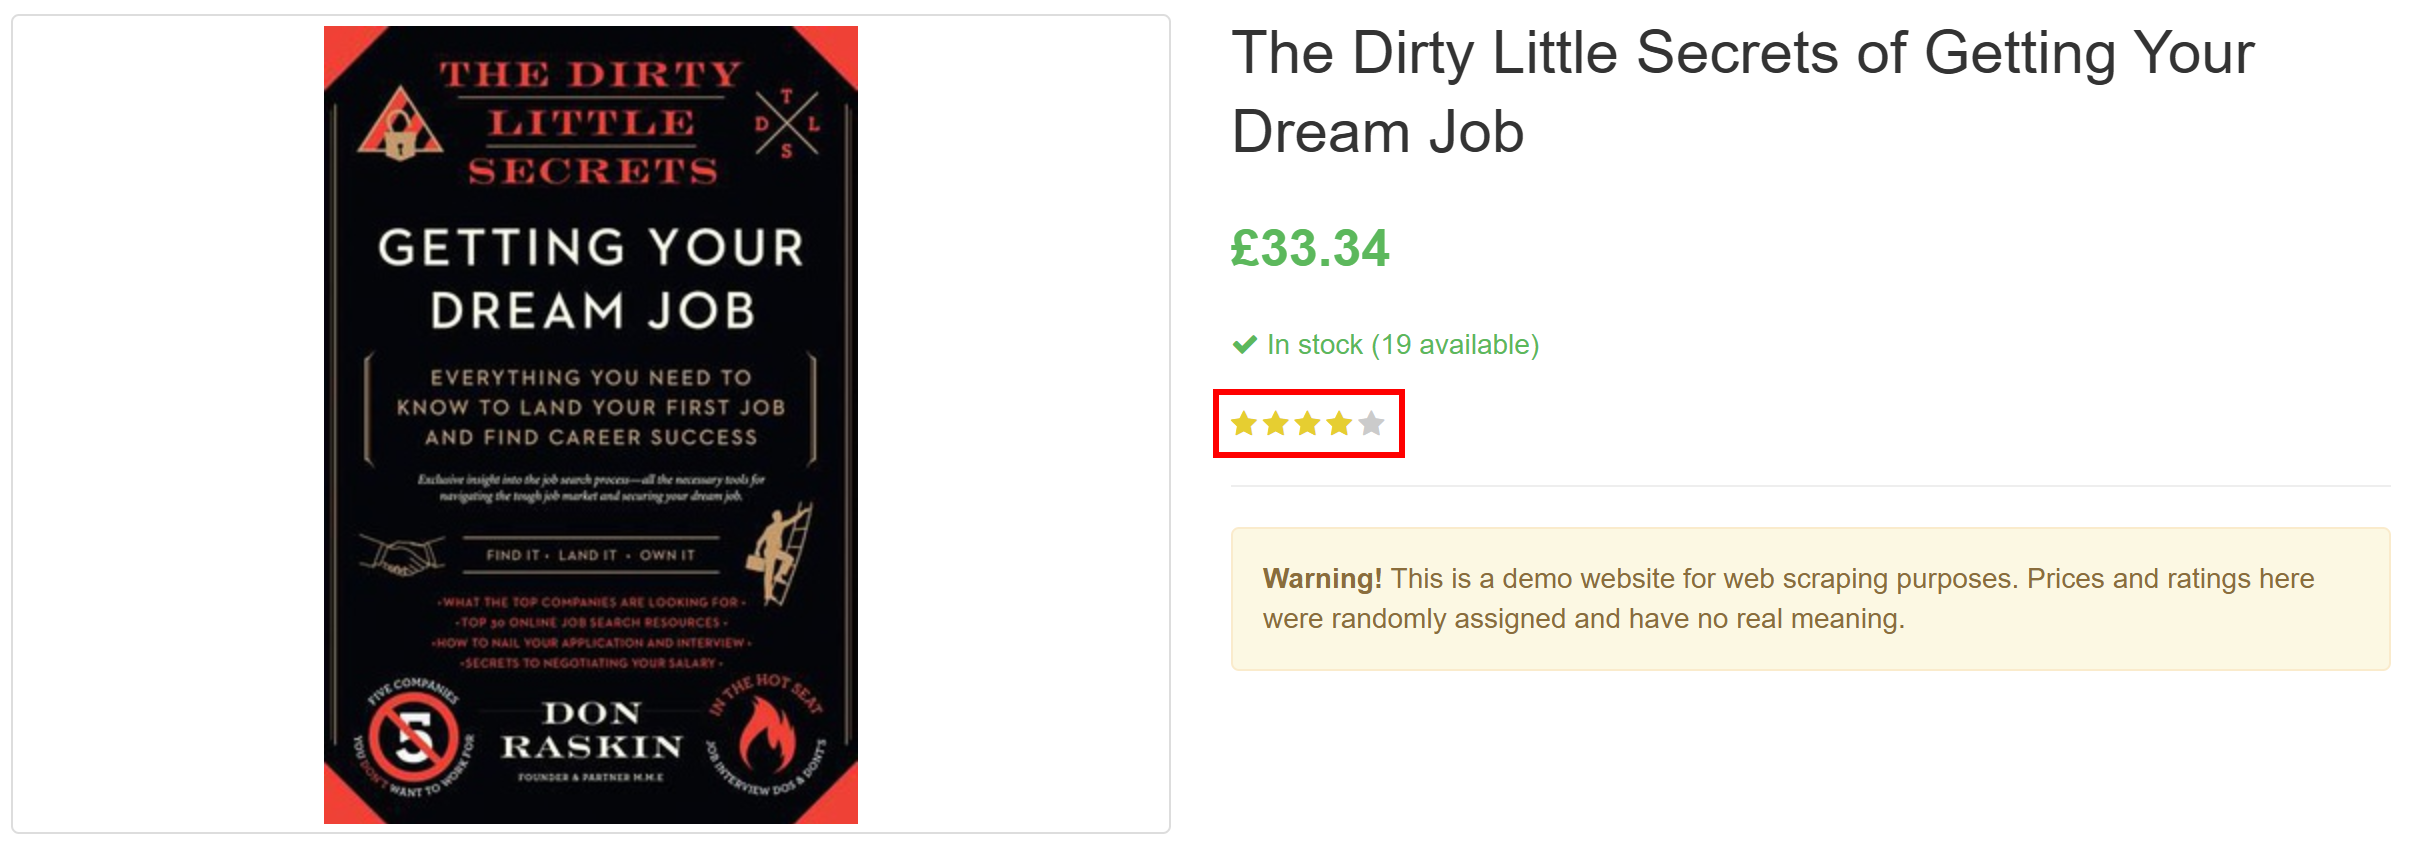
The review rating visual element
Et voilà! GPT Vision was able to transform a screenshot into a neatly structured JSON file.
Next Steps
To improve your GPT Vision scraper, consider the following tweaks:
Make it reusable : Refactor the script to accept the target URL, the CSS selector of the element to wait for, and the LLM prompt from the CLI. This way, you can scrape different pages without modifying the code.
Secure your API key
: Instead of hardcoding your OpenAI API key, store it in a
.env
file and load it using the
python-dotenv
package. Alternatively, set it as a global environment variable named
OPENAI_API_KEY
. Both methods help protect your credentials and keep your codebase secure.
Overcoming the Biggest Limitation of Visual Web Scraping
The main challenge with this approach to web scraping lies in the screenshotting step. While it worked flawlessly on a sandbox site like “Books to Scrape,” real-world websites present a different reality.
Many modern websites deploy anti-scraping measures that can block your script before you can access the page. Even if your scraper successfully accesses the page, you might still be served an error or a human verification challenge. For instance, this happens when using vanilla Playwright against sites like G2.com:
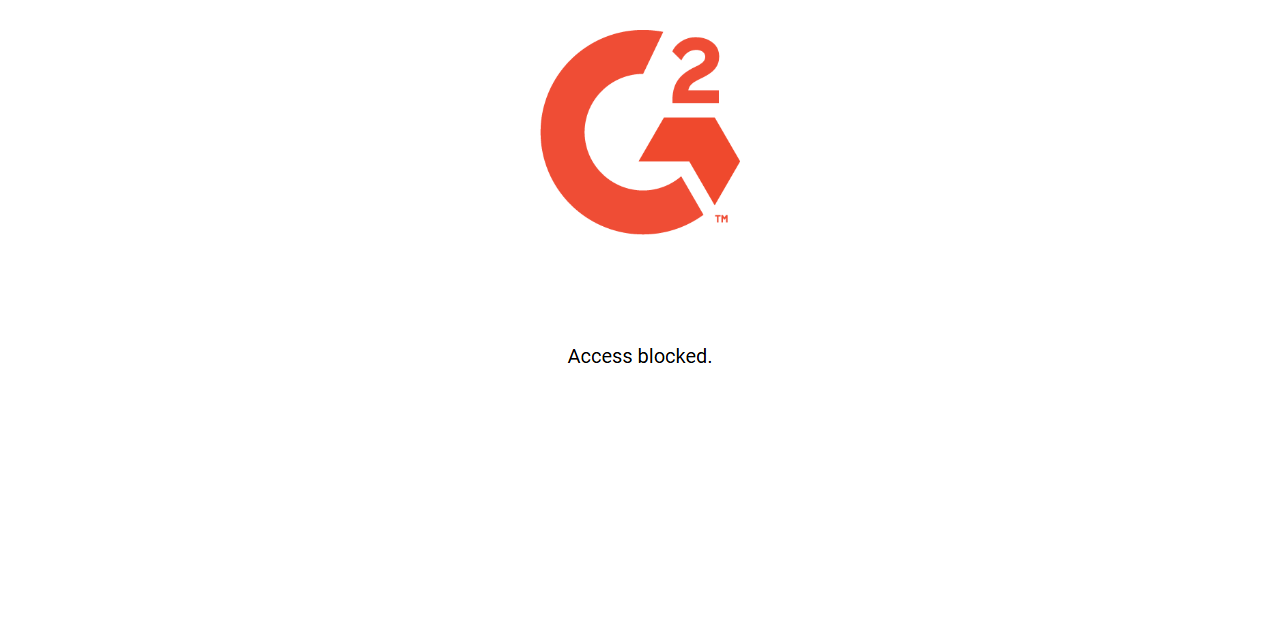
The screenshot produced by Playwright when targeting a G2 page
These issues can be caused by browser fingerprinting, IP reputation, rate limiting, CAPTCHA challenges , or more.
The most robust way to bypass such blocks is to rely on a dedicated Web Unlocking API !
Bright Data’s Web Unlocker is a powerful scraping endpoint that is backed by a proxy network of over 150 million IPs . In particular, it offers fingerprint spoofing, JavaScript rendering, CAPTCHA-solving capabilities , and many other features. It even supports screenshot capture , which means you can skip the manual Playwright screenshotting logic entirely.
Let’s say you want to extract the average star rating from Bright Data’s G2 seller page:
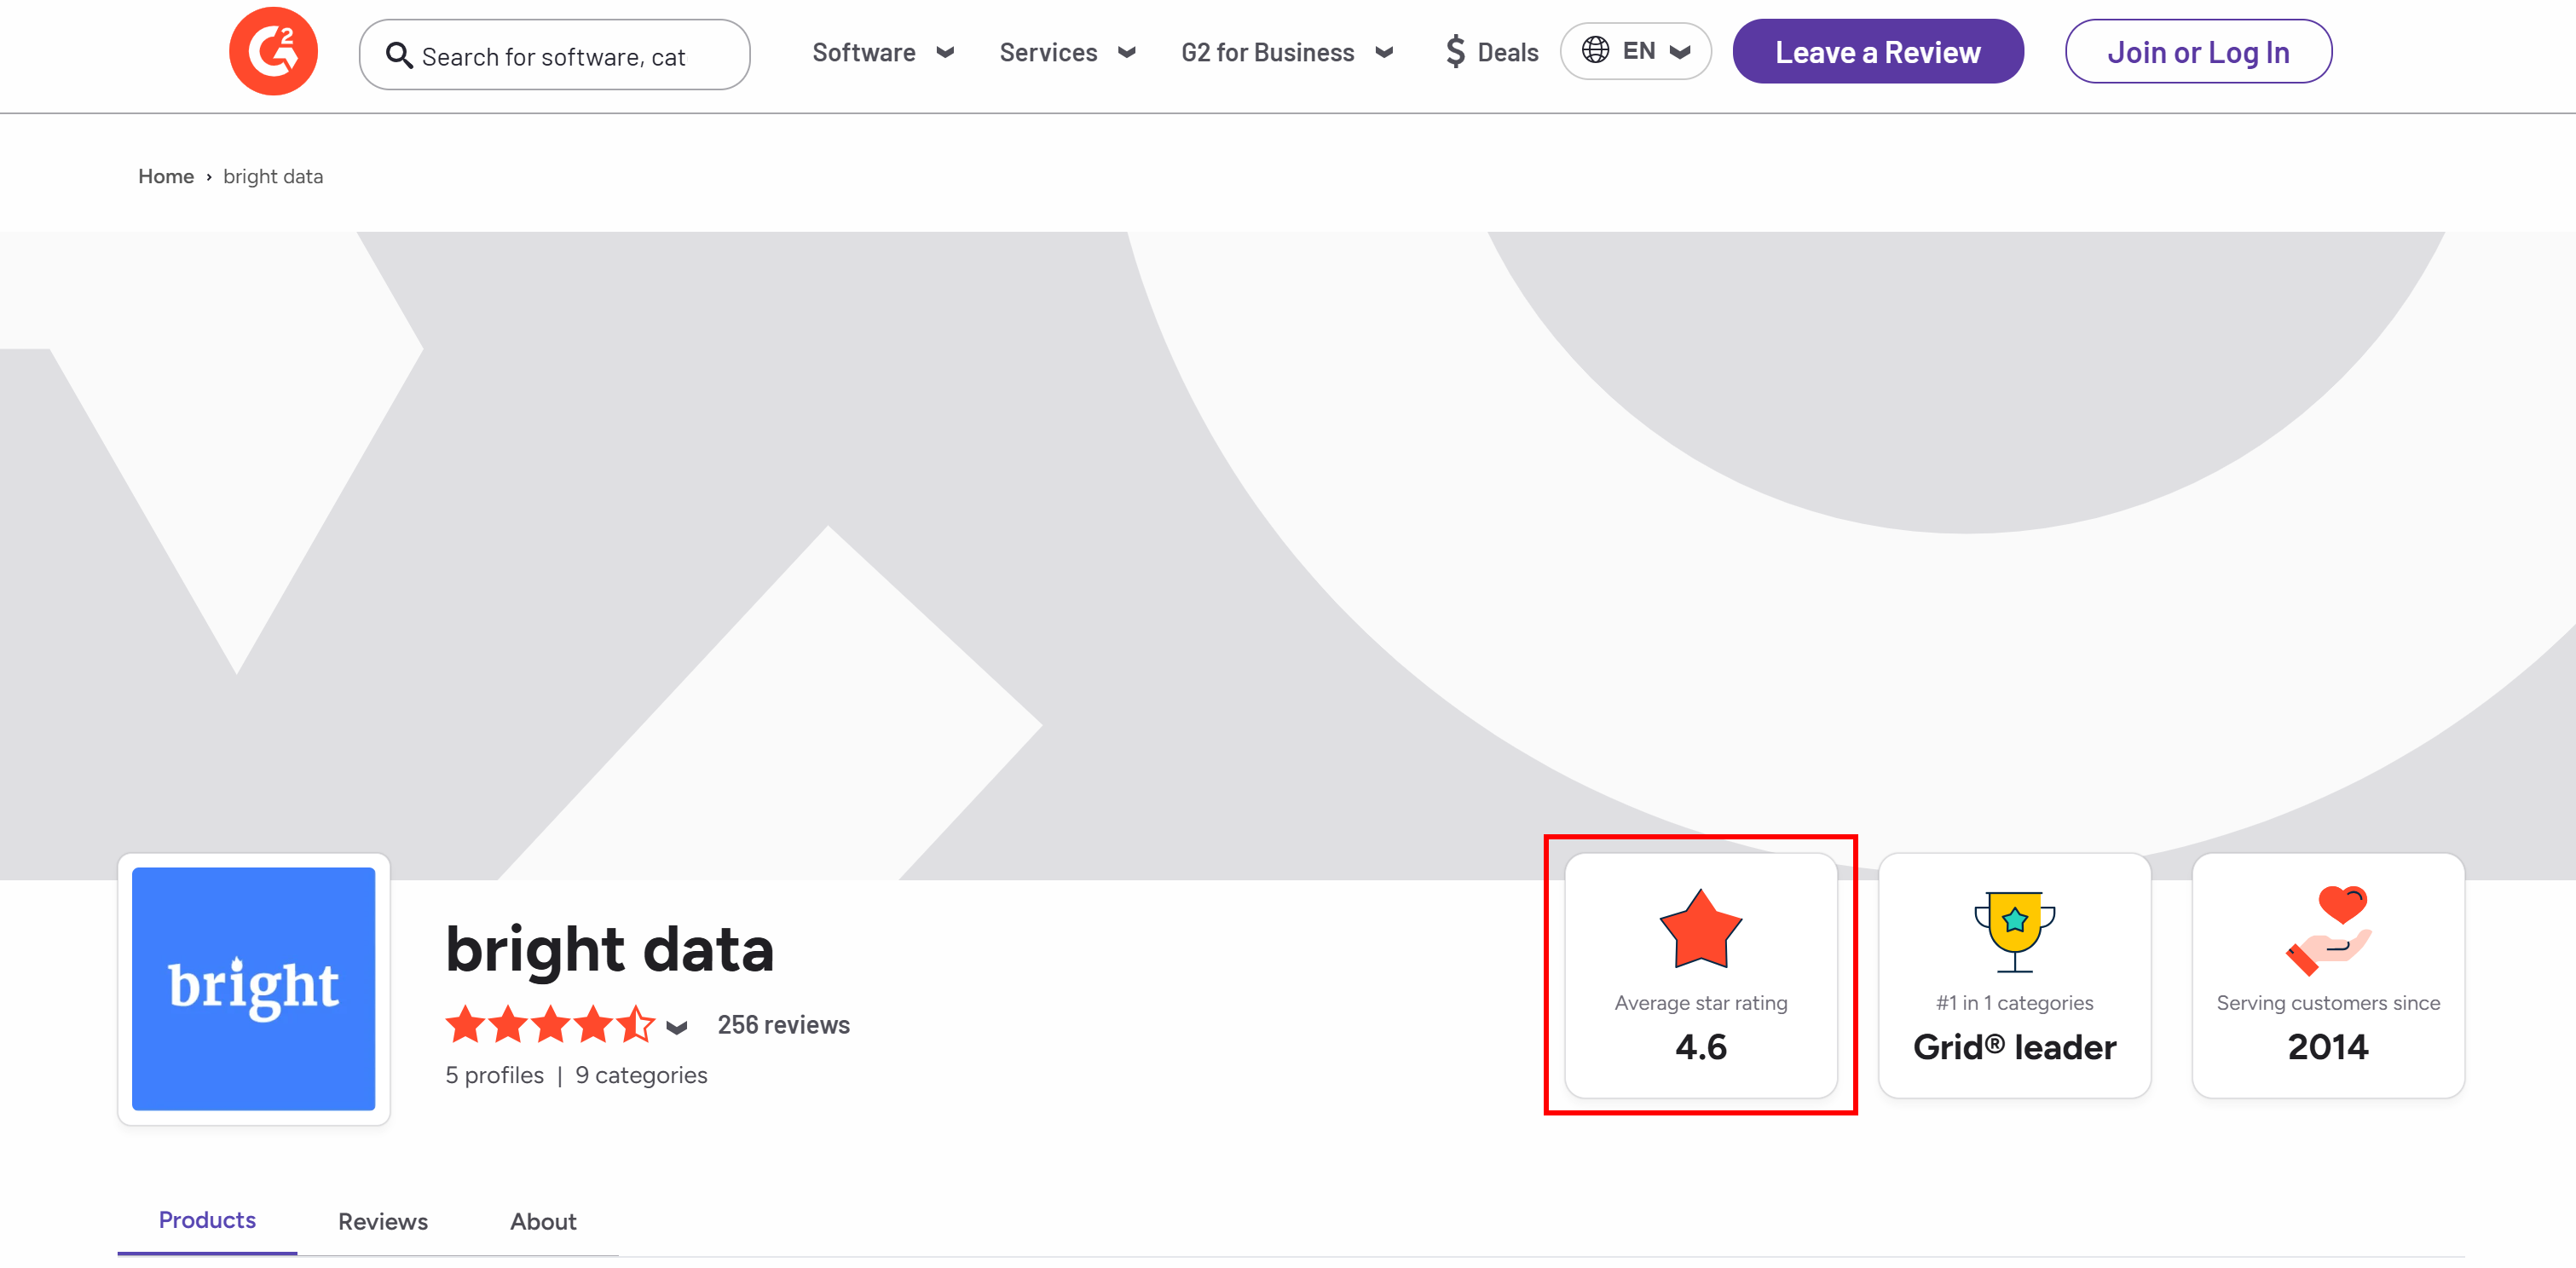
The average star rating info from Bright Data’s G2 seller page
To get started, set up Web Unlocker as explained in the docs and retrieve your Bright Data API key . Use GPT Vision together with Web Unlocker as follows:
# pip install requests

import requests
from openai import OpenAI
import base64

BRIGHT_DATA_API_KEY = "<YOUR_BRIGHT_DATA_API_KEY>" # Replace with your Bright Data API key

# Get a screenshot of the target page using Bright Data Web Unlocker
url = "https://api.brightdata.com/request"
headers = {
    "Content-Type": "application/json",
    "Authorization": f"Bearer {BRIGHT_DATA_API_KEY}"
}
payload = {
    "zone": "web_unlocker",  # Replace with your Web Unlocker zone name
    "url": "https://www.g2.com/sellers/bright-data", # Your target page
    "format": "raw",
    "data_format": "screenshot" # Enable the screenshotting mode
}
response = requests.post(url, headers=headers, json=payload)

# Where to store the scraped screenshot
SCREENSHOT_PATH = "screenshot.png"

# Save the screenshot to a file (e.g., for further analysis in the future)
with open(SCREENSHOT_PATH, "wb") as f:
    f.write(response.content)

# Initialize the OpenAI client
OPENAI_API_KEY = "<YOUR_OPENAI_API_KEY>"  # Replace with your OpenAI API key
client = OpenAI(api_key=OPENAI_API_KEY)

# Read the screenshot file and convert its contents to Base64
with open(SCREENSHOT_PATH, "rb") as image_file:
    base64_image = base64.b64encode(image_file.read()).decode("utf-8")

# Perform the scraping request using GPT Vision
response = client.responses.create(
    model="gpt-4.1-mini",
    input=[
        {
            "role": "user",
            "content": [
                {
                    "type": "input_text",
                    "text": """
                        Return the average star rating from the following image.
                    """
                },
                {
                    "type": "input_image",
                    "image_url": f"data:image/png;base64,{base64_image}"
                }
            ]
        }
    ],
)
print(response.output_text)
Execute the above script, and it will produce an output like:
The average star rating from the image is 4.6.
That is correct information, as you can confirm that visually in the generated
screenshot.png
file returned by Web Unlocker:
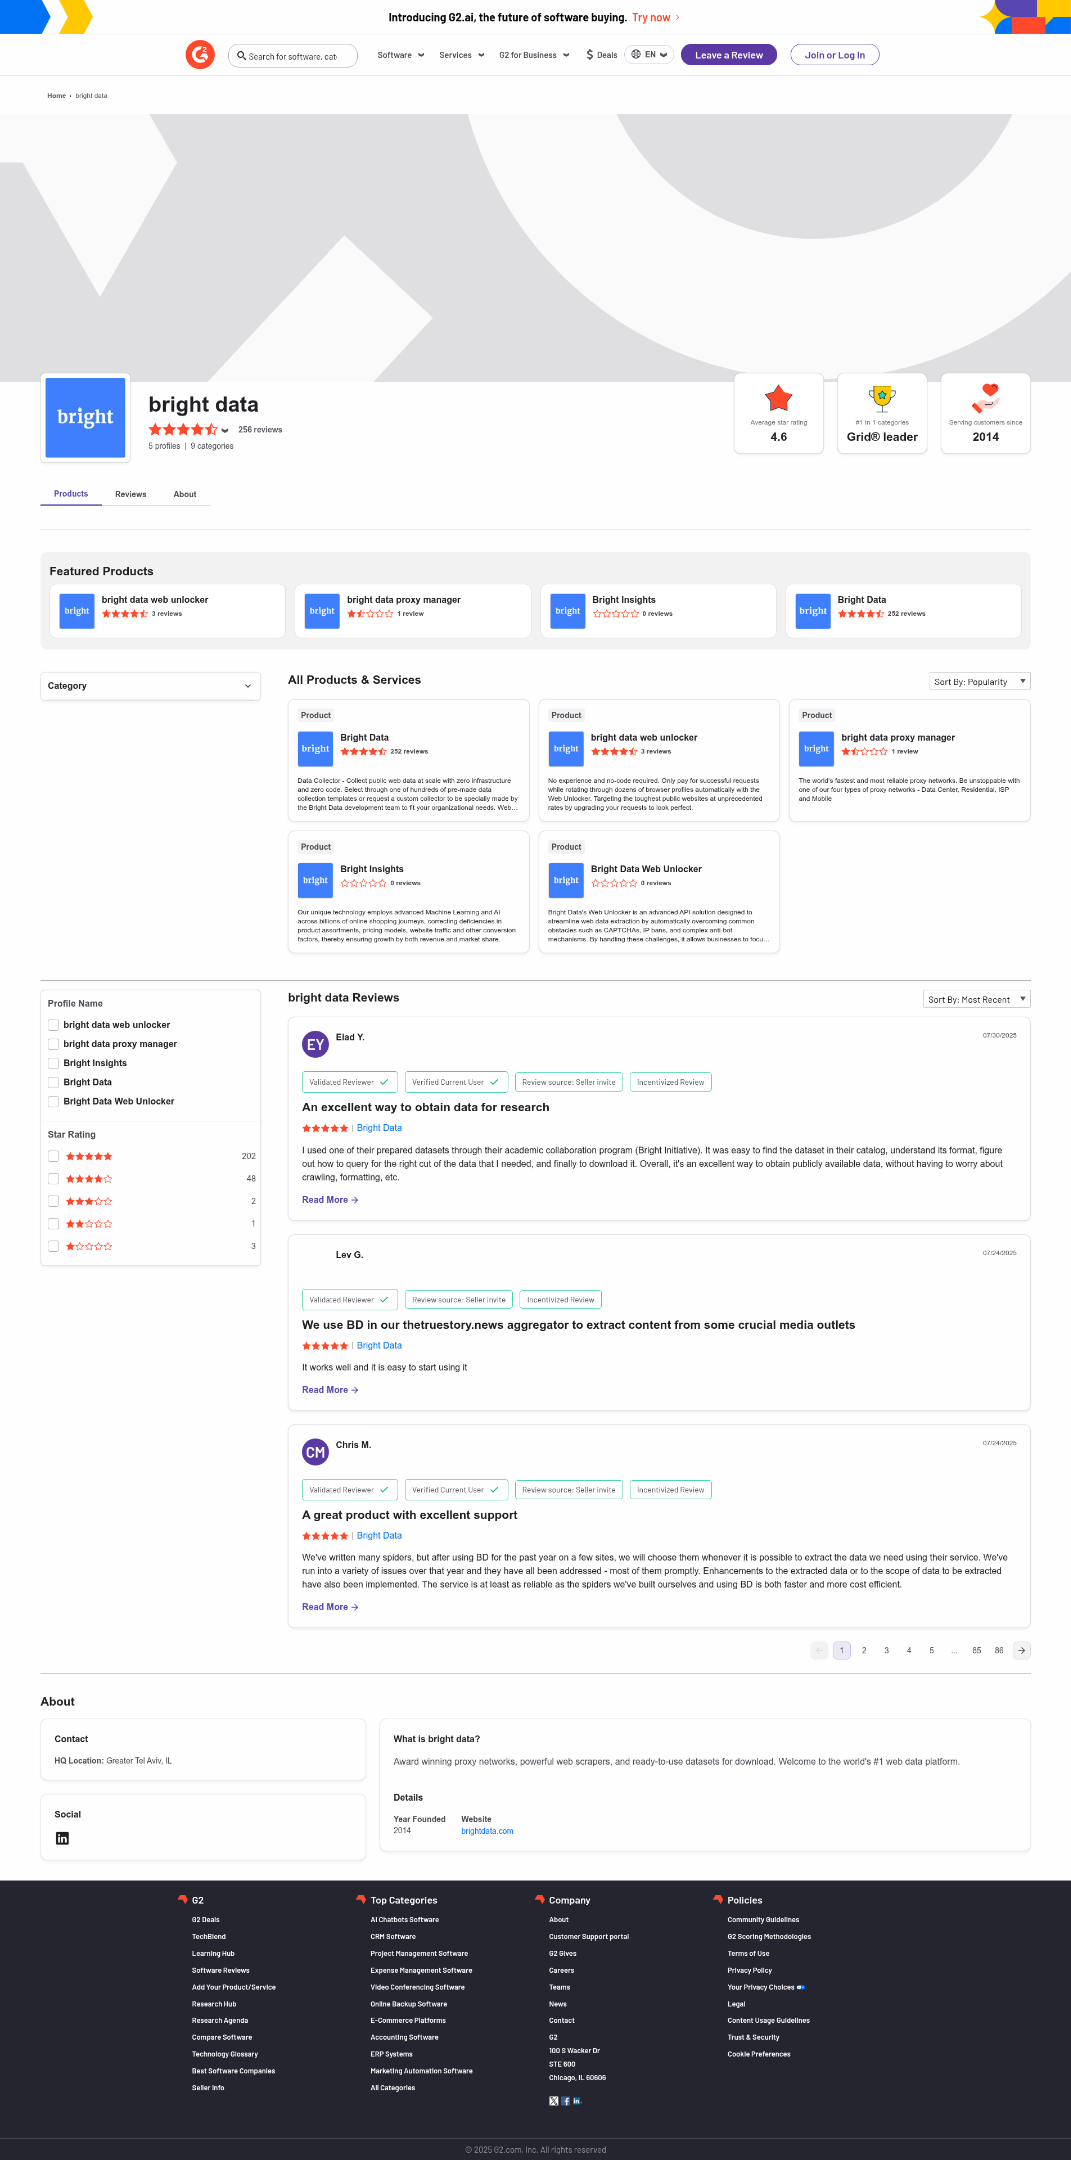
The screenshot returned by Web Unlocker
Note that you can use Web Unlocker to retrieve the fully unlocked HTML of the page, or even get its content in an AI-optimized Markdown format .
And just like that—no more blocks, no more headaches. You now have a production-grade, GPT Vision–powered web scraper that works even on protected websites.
See the OpenAI SDK and Web Unlocker working together in a more complex scraping scenario .
Conclusion
In this tutorial, you learned how to combine GPT Vision with screenshot capabilities from Playwright to build an AI-powered web scraper. The biggest challenge (i.e., getting blocked while taking screenshots) was addressed with the Bright Data Web Unlocker API .
As discussed, combining GPT Vision with the screenshot functionality provided by the Web Unlocker API allows you to visually extract data from any website. All that, without writing custom parsing code. This is just one of the many scenarios covered by Bright Data’s AI products and services .
Create a Bright Data account for free and experiment with our data solutions!